
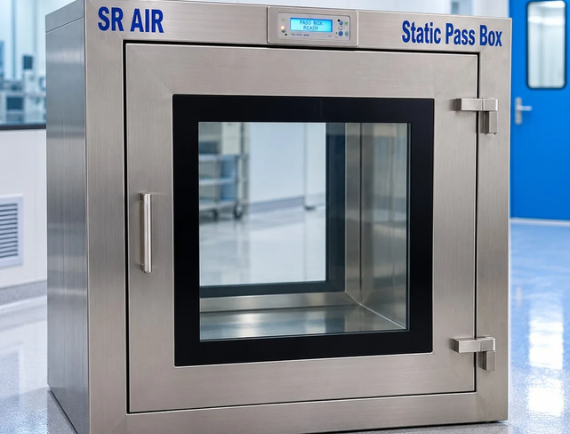
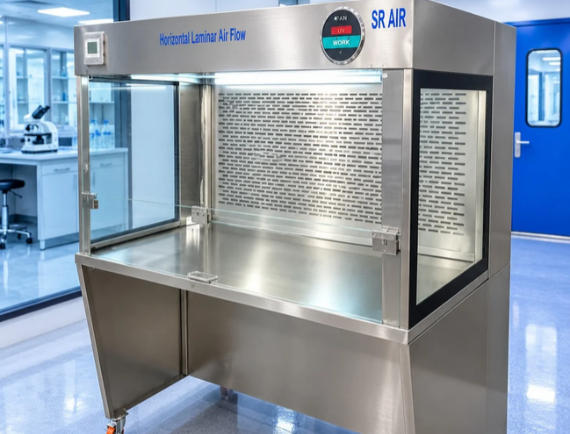
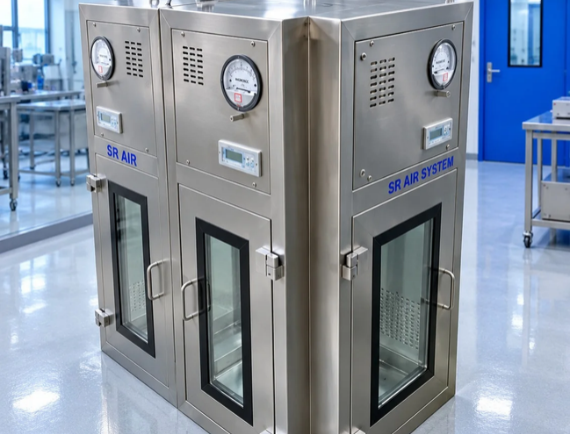
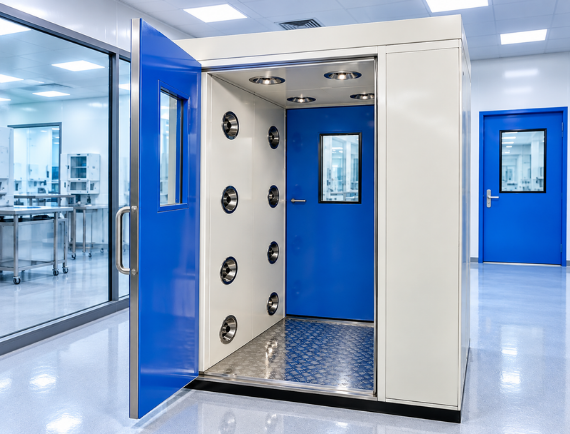

Pass box installation requirements should be agreed before you order the equipment or cut a wall opening. A unit may have the right chamber capacity yet still clash with a corridor, a service panel or a finished partition. Early coordination helps the supplier, cleanroom contractor and facility team work from the same information.
This checklist covers site preparation for clean room pass boxes. It is a planning guide, not a replacement for the approved installation drawing or instructions supplied with your particular unit.
1. Record Pass Box Installation Requirements on a Layout
Start with a marked floor plan. Identify the rooms on each side, the intended material route and the position of nearby doors. Then show where operators stand while loading and unloading. The drawing should make it easy to see whether people, trolleys or opening doors will obstruct one another.
Also mark the finished floor level and the desired loading height. If items arrive on a trolley, measure the trolley platform as well as the item. A small height mismatch can make everyday handling awkward even when the chamber itself is large enough.
2. Separate Chamber Size from the Wall Opening
Usable internal dimensions describe the space for materials. External dimensions describe the complete enclosure. Neither should be assumed to equal the required wall cutout. Flanges, support arrangements and installation allowances depend on the proposed design.
- Confirm internal width, depth and height.
- Obtain overall dimensions from the approved drawing.
- Ask the supplier to specify the required opening.
- Record wall thickness and finished surface details.
- Check flange overlap and access for installation.
For example, a quotation may state only the working chamber size. Before approving civil work, ask for the corresponding general arrangement drawing. This avoids treating a sales dimension as a construction dimension.
3. Confirm Support and Sealing Details
The facility team should confirm how the unit will be supported and how loads transfer to the structure. Do not assume that a lightweight partition can support the enclosure and its working load without a separate assessment. Agree who supplies any stand, frame or reinforcement.
Next, define the interface between the unit and the wall. Ask the contractor and supplier to agree the joint finish, compatible sealing materials and cleaning access. The finished installation should be inspectable, with no unresolved gaps hidden behind trim.
4. Review Electrical Pass Box Installation Requirements
Request the actual voltage, phase, frequency and connected-load requirements for the selected model. A static unit can still require electricity for lights or electrical locks. Meanwhile, a dynamic model may have additional blower and control requirements.
Confirm the connection location, cable route and suitable isolation with qualified site personnel. In addition, ask who completes the connection and checks it before use. This article does not provide wiring instructions; the equipment documentation and competent electrical installation govern that work.
5. Leave Space for Doors and Servicing
Show the full door swing on both sides of the wall. Check handles, nearby equipment and routine cleaning access. Also ask which panels must open when filters, lights or controls need attention. Maintenance space should remain available after neighbouring equipment is installed.
These details matter for both static and dynamic pass box configurations. If a proposed model needs a duct connection, coordinate it with the responsible HVAC designer rather than assuming every dynamic unit has the same arrangement.
6. Plan Delivery and Installation Responsibilities
Measure the delivery route, including doors, lifts, corners and temporary obstructions. Then agree whether the equipment arrives assembled and who handles unloading, movement and positioning. Record any room-access restrictions or permitted work periods before dispatch.
A simple responsibility list prevents gaps between suppliers. Assign the opening, support, sealing, electrical work, equipment positioning and final cleaning to named project roles. Review the list again if the drawing changes.
7. Close the Pass Box Installation Requirements at Handover
Use the approved specification to prepare the handover checks. Typical coordination items include drawing conformity, door operation, installed accessories, manuals and any agreed test records. The site quality team should determine the qualification scope for the intended process.
For a reference on the kind of information manufacturers request, see the Esco pass box specification questionnaire. Its model options are examples, not specifications for SR Air System equipment.
Frequently Asked Questions
Can we cut the wall before ordering?
Wait for an approved drawing that states the opening and support details. A chamber-size description alone is not enough for accurate construction.
Does every dynamic unit need a duct?
No single arrangement applies to all models. Ask the supplier to document whether the selected design recirculates air or needs site connections.
What should we send with an enquiry?
Send the layout, wall thickness, transfer height, item details and available utilities. SR Air System can use this information to review pass box installation requirements and clarify the proposed supply scope before you order.
